Install & Maintain Dummy Dome Camera Systems: A Comprehensive Guide
Installing Dummy Dome Camera Systems offers a subtle yet powerful security solution, blending seamle…….
Installing Dummy Dome Camera Systems offers a subtle yet powerful security solution, blending seamlessly into existing light fixtures. The easy installation process caters to DIYers and professionals alike, enhancing home security with minimal visual disruption. Regular maintenance includes cleaning, power supply checks, strategic positioning, LED blinking tests, and software updates to ensure optimal performance and deter potential intruders.
“Enhance your home or business security with dummy dome cameras, an innovative and cost-effective solution. These realistic-looking cameras feature blinking LEDs, adding a layer of deterrence to potential intruders. In this comprehensive guide, we’ll walk you through the process of installing these versatile systems, from understanding their unique features to best practices for maintenance. Discover how to transform your security setup with Installing Dummy Dome Camera Systems.”
- Understanding Dummy Dome Cameras: Features and Benefits
- Step-by-Step Guide to Installing a Dummy Dome Camera System
- Best Practices for Maintaining Your Dummy Dome Camera Security Setup
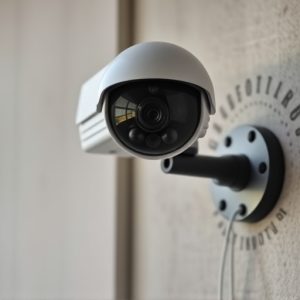
Understanding Dummy Dome Cameras: Features and Benefits
Dummy Dome cameras are a popular choice for both residential and commercial security systems, offering a blend of functionality and discretion. These cameras mimic the appearance of traditional light fixtures, featuring a dome-shaped housing with a blinking LED indicator, making them virtually indistinguishable from regular lamps or ceiling lights. This innovative design provides several key benefits.
Firstly, their aesthetic integration allows for discreet surveillance, as they can be installed without drawing unnecessary attention. During the day, they function as regular lighting sources, and at night, the blinking LED alerts potential intruders without compromising the camera’s effectiveness. Additionally, Installing Dummy Dome Camera Systems is a straightforward process, making them accessible to DIY enthusiasts and professional installers alike. This versatility makes them an attractive option for anyone seeking advanced security measures with a minimal visual impact.
Step-by-Step Guide to Installing a Dummy Dome Camera System
Installing a dummy dome camera system can be a straightforward process, allowing you to enhance your security and home monitoring. Here’s a step-by-step guide to help you through the setup.
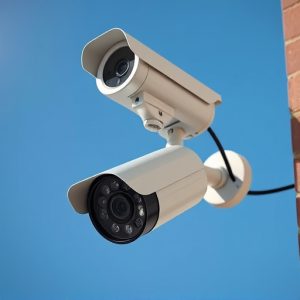
1. Preparation: Start by gathering all necessary components including the dummy dome camera, mounting hardware, and any additional accessories like a power supply or a stand. Ensure your wall or ceiling can support the weight of the camera. Mark the mounting points accordingly.
2. Mounting: Next, securely mount the dummy dome camera to the prepared surface. Follow the manufacturer’s instructions for optimal placement, ensuring the camera has a clear view of the area you wish to monitor. Once in place, connect the power supply and verify that the camera is powered on.
3. Configuration: Access the camera’s settings using your smartphone or provided remote control. Configure the motion detection, sensitivity, and other features according to your security needs. Test the camera’s functionality by simulating movement within its field of view.
4. Networking: Connect the camera to your home network following the instructions in the user manual. This often involves scanning a QR code or entering specific network settings. Once connected, you can access live feeds and recorded footage from your smartphone or computer.
5. Testing & Calibration: Conduct regular tests to ensure optimal performance. Calibrate the camera’s image if needed, making adjustments for clarity and angle. With these steps completed, your dummy dome camera system is now operational, providing a vigilant eye on your property.
Best Practices for Maintaining Your Dummy Dome Camera Security Setup
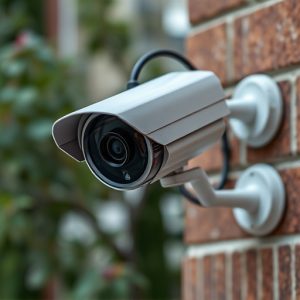
To maintain your dummy dome camera security setup effectively, start by regularly cleaning the cameras to prevent dust and debris buildup, ensuring optimal visual clarity. Check the power supply and connections to ensure stable and uninterrupted operation; loose or faulty wiring can lead to system malfunctions.
For added security, consider positioning the cameras strategically to cover key areas, simulating actual surveillance. Regularly test the blinking LED feature to deter potential intruders, as the dynamic lighting can create a sense of vigilance. Additionally, keep software up-to-date for any security patches and enhancements, ensuring your system remains robust against emerging threats.
Dummy dome cameras with blinking LEDs offer a cost-effective and aesthetically pleasing security solution. By following the step-by-step installation guide and best practices for maintenance, homeowners and business owners alike can easily enhance their security without breaking the bank. Investing in these systems not only provides peace of mind but also serves as a powerful deterrent against potential intruders, ensuring safety and protection for your property.