Install Red Blinking Light System in Dummy Dome Cameras
Installing Dummy Dome Camera Systems requires understanding basic components and function, including…….
Installing Dummy Dome Camera Systems requires understanding basic components and function, including housing unit, lens, red blinking light, and deterrence value. Before installation, thorough preparation is crucial: assess location, gather tools, create workspace, and review manufacturer instructions. Mount cameras securely using provided brackets or adaptors while maintaining level alignment, then connect to power sources for reliable, effective surveillance.
“Unveil the secrets behind enhancing security with dummy camera red blinking light installations. This comprehensive guide delves into the world of these innovative systems, providing insights for both professionals and DIY enthusiasts. From understanding the basics of dummy dome camera systems to a detailed step-by-step installation process, this article covers all aspects of successfully integrating red blinking lights. Get ready to transform your security setup with our expert advice on installing dummy dome cameras.”
- Understanding Dummy Dome Camera Systems
- Preparation for Installation
- Step-by-Step Guide to Installing the Red Blinking Light System
Understanding Dummy Dome Camera Systems
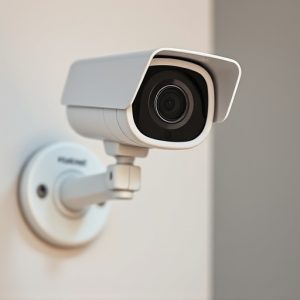
Installing Dummy Dome Camera Systems involves understanding their core components and functionality. These systems are designed to mimic real security cameras, often used as deterrents in vacant spaces or during construction projects. The dummy dome camera typically consists of a housing unit that resembles a real camera, complete with a lens and a red blinking light to indicate its active status.
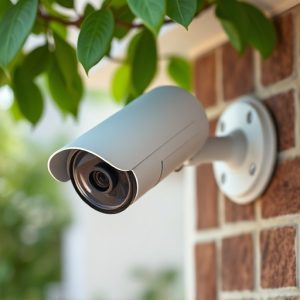
During the installation process, these cameras are strategically placed to appear as if they’re monitoring an area. The red blinking light serves multiple purposes: it alerts intruders that the space is under surveillance, even when no actual video feed is being recorded. This simple yet effective visual cue can significantly deter unauthorized access, making them a popular choice for temporary security measures in various settings, from construction sites to vacant buildings.
Preparation for Installation
Before installing a dummy dome camera system, thorough preparation is key. This involves assessing the location where the camera will be placed to ensure it aligns with the specifications of the product, such as power requirements and line-of-sight visibility. Gather all necessary tools, including the camera, mounting hardware, cables, and any additional components specific to the installation setup. Create a clean, clear space for working, ensuring no obstructions or hazards that could impede the installation process or damage the equipment.
Additionally, review the manufacturer’s instructions and safety guidelines, familiarizing yourself with the steps involved. This preparation stage is crucial for a seamless installation, ensuring the dummy dome camera system functions optimally and appears realistic once mounted.
Step-by-Step Guide to Installing the Red Blinking Light System
Installing the Red Blinking Light System
1. Preparation: Begin by gathering all necessary components, including your dummy dome camera system with red blinking lights, mounting hardware, and any additional tools required for installation. Ensure you have a clear understanding of the layout and space where the cameras will be placed. This step is crucial for a seamless setup.
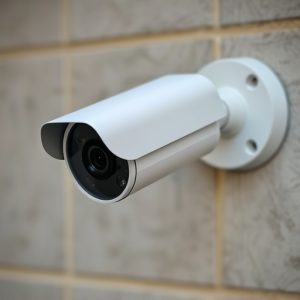
2. Mounting the Cameras: Start by securing the camera bodies to their designated spots. Use the provided brackets or adaptors to attach them firmly to walls, ceilings, or any other suitable surfaces. Ensure each camera is level and aligned correctly, referencing the manufacturer’s instructions for optimal placement. Once all cameras are mounted, double-check stability and adjust as needed. Proceed to connect each camera to its respective power source using the included cables, making sure everything is securely wired.
Installing a dummy dome camera system with a red blinking light can significantly enhance security while adding a visual deterrent. By following the step-by-step guide outlined in this article, you can efficiently prepare for and complete the installation process. Remember that proper preparation and a systematic approach are key to ensuring the effectiveness of your new security measure. Now that you understand the basics of dummy dome camera systems, it’s time to take a dive into the specific steps required to install your red blinking light system.